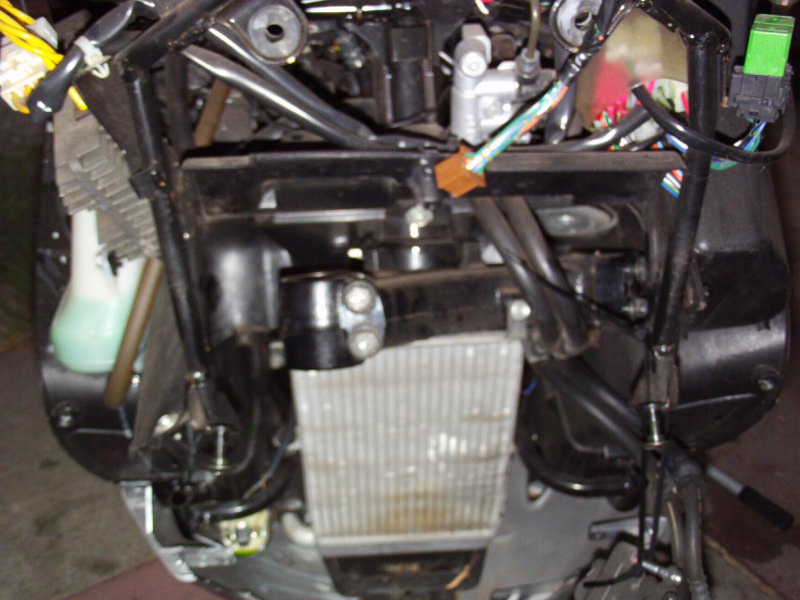
The front fairing removal,fender removal, and wheel removal is adequately covered elsewhere in pictorial sequences.
Place Swing on center stand and support frame under the engine at the crossbeam (I use a trolley jack) to raise the front wheel.
Next I remove the fender followed by the front wheel. Then the brake caliper. Support the caliper with ties to the frame.
Next remove the front fairing. It is possible to loosen the 4 bolts holding the fork tubes in without removing the fairing, but why risk slipping with the spanners and scratch the fairing. I needed to remove all the tupperware to do some additional work anyway, so the whole operation tends to make it all easier.

In the picture above, you can see the 4 pinch bolts that hold the fork tubes. The upper ones must be completely removed to take the forks out.
In the picture above, you can see the grooves which the upper pinch bolts slot into.
This just shows another view of the bolts.
This just shows another view of the grooves.
this ends part 1
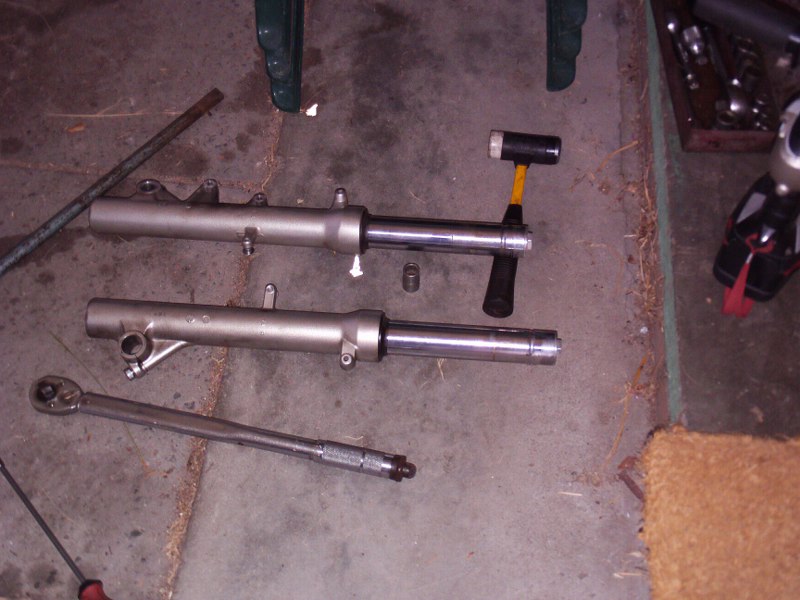
Part2,
Straight forward disassembly of fork leg.
Remove top plug carefully, I SAID CAREFULLY!!
Remove spacer if it hasn't already removed itself along with a finger, and the washer/spring upper seat.
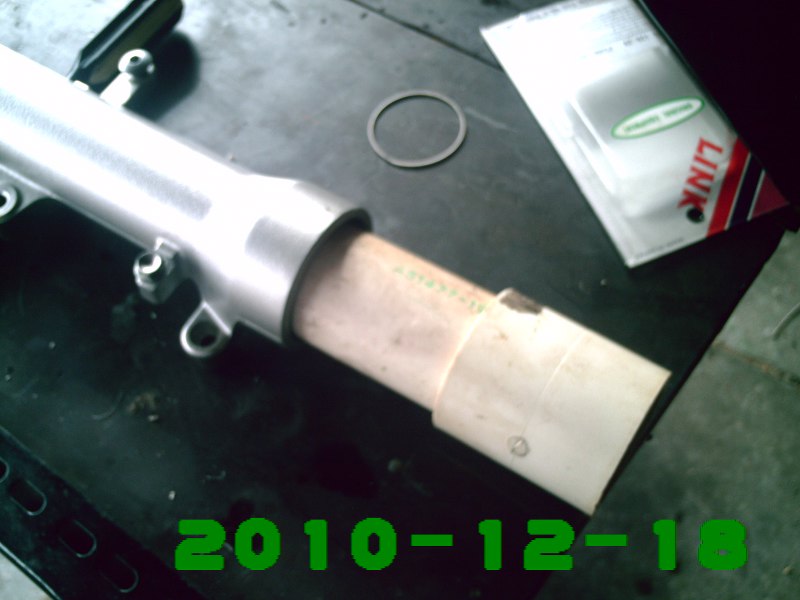
Clean down everything, don't buy aftermarket parts from a dealer 3000km away and then before reassembly, get new seals (again local aftermarket seals, but the correct ones to sample)
I dont know how Honda can charge the exhorbitant prices for their parts $Aus36.00 per set per side.
Back to business
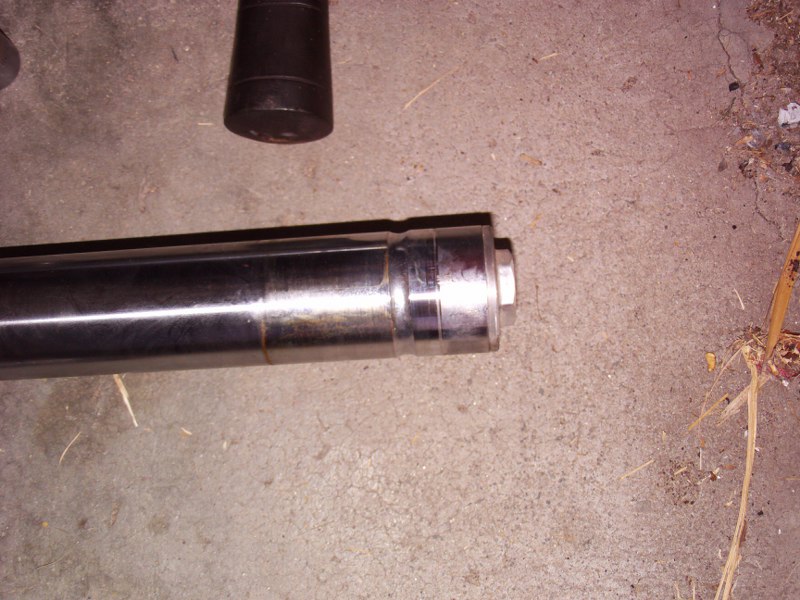
Remove lower Allen bolt(I loosened this earlier while the forks were still clamped to bike.. believe me its easier). When you eventually get it out!!!!hurumph hurrumph!!! you can gently tap the guide out with the inner fork leg. All the innards are then accessable.
Rebuilding is similiar to dissassembly, but not the same.
Place the nylon oil tube guide into the outer leg following with the inner leg. insert the allen bolt with a bit of thread lock and wind it in by hand until it just nips up. Torgue it!
This is when it gets interesting.
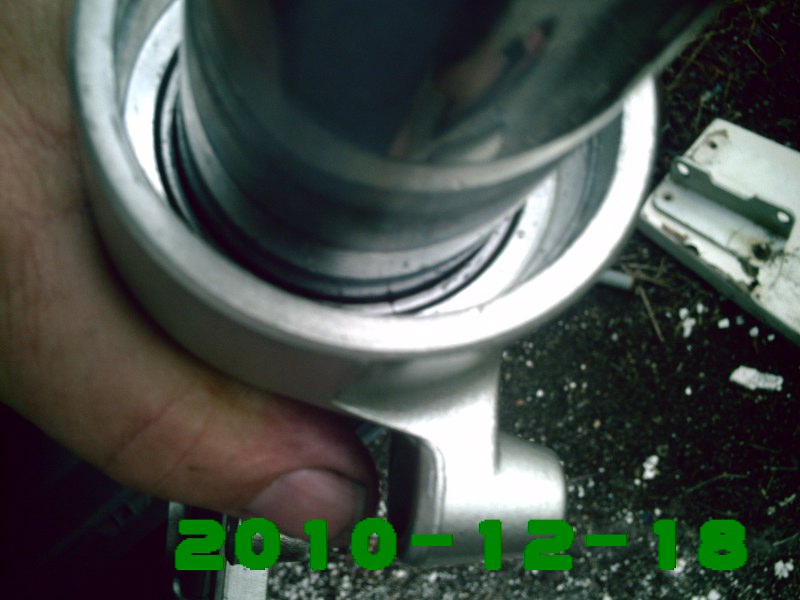
Tap the guide in gently, and make sure it sits all the way in.
Next comes the large washer and seal. Mane sure seal is correct way up. Note small lip on upper surface of seal. At this point I removed the tensioning spring from the top of the seal and used my home made seal installing tool (sounds good, but its only a couple of pieces of agi pipe trimmed off in a mini lathe) I gently tapped down the seal AFTER smearing it liberally with fork oil.
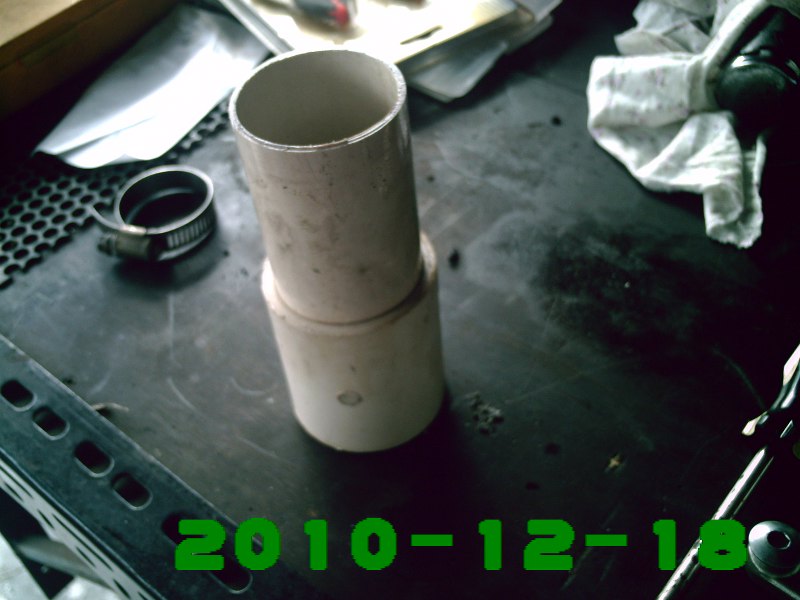
here is another pic of the tool.
The little seal spring is now reinstalled,
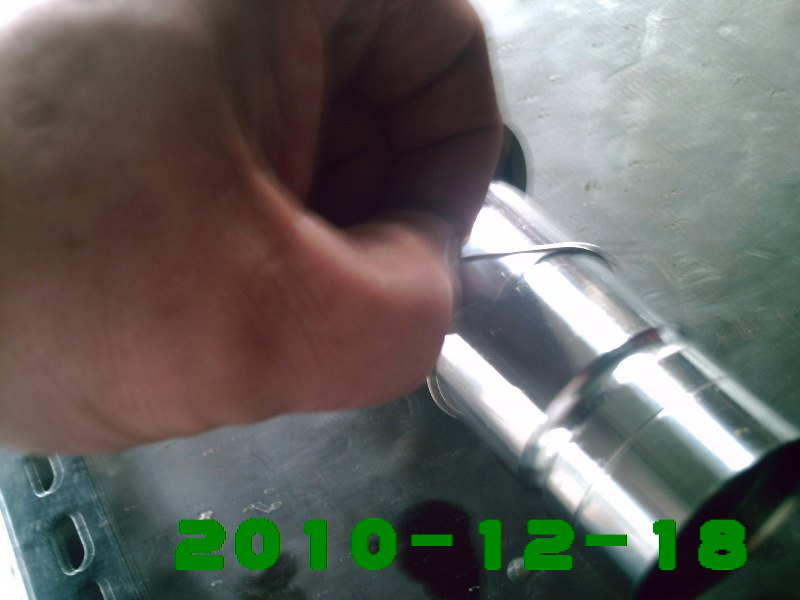
I removed this spring so the lip fit up into the tool. I used a small screwdriver to feed it back ito its groove. This was followed by the spring seal clip and now its ready to add the oil.. 305 ml + - 2.5ml I used Silkolene SAE15 for no other reason than it was available. No correspondence on oils will be entered into...OK?
AHHH now for the innards.
Put in the seat/washer then the spacer then the cap/ If it lets go before you can start the thread, the washer ends up behind the bag of grass seed next to the parts washer in the opposite direction to where you saw it fly. PS duck too as the spacer, and cap, and anything else dislodged from the garage cieling showers down on you.
It is easier to compress the spring with the inner leg all the way out, so I used a hose clamp to stop it darting back in while I was pushing on it. Again, it is easier if the leg is on the floor and you can put a decent amount of force on the spring. Keep pressure on the cap while threading it in. t
Thread it in for at least half of the thread height before letting it go. Nip it up with a 22 mm socket. The second unit takes about 25% as long to put together.
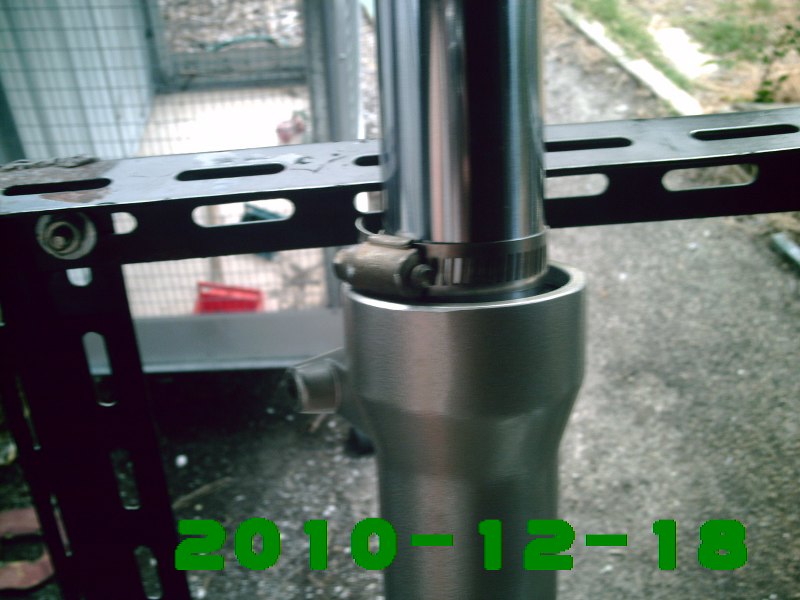
Put on the dust caps and refit to forks. Remember the groove in the fork leg for the upper bolt.
ebbitta Ebbitta Ebitta ,Thats all folks